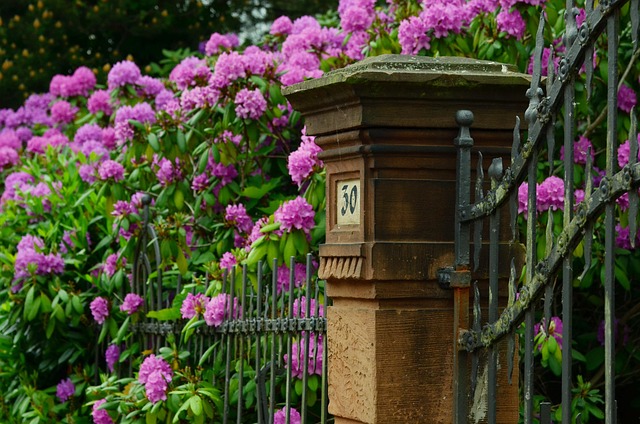
- Planning Your Fence Installation Project
- Choosing the Right Fencing Material for New Bedford Climate
- Measuring and Marking Your Property Line
- Digging and Setting Posts: Step-by-Step Guide
- Attaching Railings and Panels: Tips for a Strong Fence
- Finishing Touches: Painting and Maintenance Tips
Planning Your Fence Installation Project
Choosing the Right Fencing Material for New Bedford Climate
When considering DIY fence installation in New Bedford, Massachusetts, selecting an appropriate fencing material is a crucial step. The region’s climate plays a significant role in this decision. With cold winters and hot summers, homeowners need to choose materials that can withstand both extreme temperatures and varying moisture levels.
Wooden fences are popular choices due to their aesthetic appeal and relative affordability. However, in New Bedford’s climate, they require regular maintenance like sealing and painting to protect against rot, warping, and insect damage. Alternately, vinyl fences offer low-maintenance benefits, being resistant to rot, rust, and chipping, and they retain their color over time. Metal fences are durable and can withstand harsh weather conditions, but they may be more expensive and require specific installation techniques to prevent corrosion.
Measuring and Marking Your Property Line
Before installing any fence, it’s crucial to understand your property boundaries. Start by gathering survey documents or reaching out to your local assessor’s office for a current map of your New Bedford, Massachusetts property. Using this information, carefully measure and mark where your fence will begin and end. This process involves marking the corners of your lot with flags or stakes and stringing a line between them to establish the perimeter. Ensure you respect neighboring properties, and avoid encroaching on any public spaces or roads. Clear any obstructions along the way to ensure precise measurements.
Digging and Setting Posts: Step-by-Step Guide
To begin digging and setting posts for your DIY fence, start by marking the spots where each post will be placed along the perimeter of your desired fence line. Use a measuring tape to ensure consistent spacing. Next, use a post-hole digger or shovel to excavate holes at these marked locations, making sure they are deep enough to support the post’s length and width. The depth should typically be around one-third of the post’s total height, but consult your fence kit instructions for specific guidelines.
Once you’ve dug the holes, place a level on each hole to ensure it’s perfectly horizontal. If not, use a sledgehammer or shovel to adjust the soil until the hole is level. Insert your wooden posts into the holes, ensuring they’re plumb and secure. Fill the gaps around the base of the posts with concrete, using a level to maintain their upright position. Allow the concrete to set completely before continuing with the rest of the fence installation process.
Attaching Railings and Panels: Tips for a Strong Fence
Attaching railings and panels is a crucial step in DIY fence installation. Start by ensuring all posts are firmly in place, level, and secure. Use high-quality fasteners like galvanized screws or nails to connect the railings to the posts. For added stability, consider using brackets at the top and bottom of each panel. Make sure these connections are tight, as they bear the brunt of wind and other environmental factors.
When attaching panels, use a level to ensure they’re straight and even. Pre-drilling holes can prevent splitting in wooden panels. Space the panels evenly to maintain uniform gaps between them. Reinforce corners with additional brackets or supports for extra durability. Regularly check connections as you work, tightening any loose fasteners to keep your fence strong and secure throughout its lifespan.
Finishing Touches: Painting and Maintenance Tips
When it comes to finishing touches for your new fence, painting is a great way to enhance its aesthetics and longevity. Choose a high-quality outdoor paint or stain that suits your fence material—wood, vinyl, or metal—and match it to your desired color. Apply an even coat using a brush or roller, ensuring all surfaces are covered. This step not only adds a stylish finish but also protects the fence from elements like UV rays and moisture.
Regular maintenance is key to keeping your fence in top condition. Clean the fence regularly with a soft brush to remove dirt and debris. Inspect it for any signs of wear, such as peeling paint or damaged boards, and repair or replace them promptly. Applying a fresh coat of paint every few years will not only maintain its appearance but also reinforce protection against weather conditions, ensuring your fence stands strong for years to come.